
There was a time when creating a Bootstrap website was considered as a complicated task. One had to develop different sites with a lot of distinct features for separate devices such as mobile phones, desktops, etc. However, with the advancing technology and availablility of bootstrap website builders, it has become quite a hassle-free task to create a Bootstrap website. Technology, such as Bootstrap 4, has made it even easier.
What is Bootstrap 4?
Bootstrap 4 is a popular CSS, HTML, and JavaScript framework that can be used for developing a responsive website as well as web applications.
Advantages of Bootstrap 4
- Bootstrap 4 is useful in building mobile-first and responsive websites.
- Not only is it easy to understand, but it also has several dynamic features.
- It provides the user with all the things that are needed to create a Bootstrap website from the start. It is much preferred as it is free of cost and can be used as an open-source front-end framework.
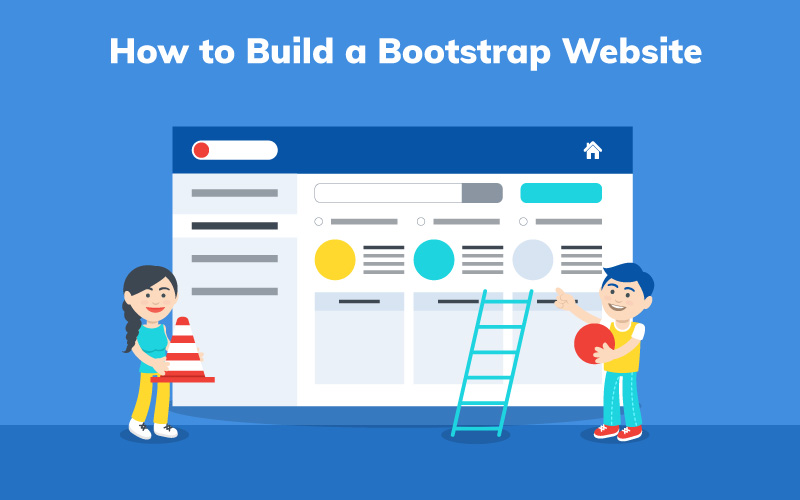
In this article, we would be discussing in detail how to build a Bootstrap website. Keep on reading to find out more!
Why Bootstrap 4?
Bootstrap 4 cannot be compared to other frameworks as it is quite ahead of others. This is because it is built on CSS, HTML, and JavaScript and is a responsive and mobile-first framework. This means that the website is created, keeping in mind the mobile users first and later enhancing it on other devices. A good number of resources are also accessible through Bootstrap 4, making it more appealing and desirable. This framework is user-friendly, which doesn’t need one to master HTML and CSS. Bootstrap 4 has high compatibility with the latest browsers.
How to Create a Responsive Website with Bootstrap 4?
In this section, we would talk about how to create a website using Bootstrap. For the sake of clarity and easy understanding, this blog has been categorized into four different sections as follows:
- Responsive Navigation: This section of the website contains the website Logo along with the Menu items that can be aligned either to the left or the right, according to the requirements of the project.
- Header: One can apply an image for the background, a foreground image, or any type of content within the header.
- Content: This is the main area of the website where the content is displayed for the users.
- Footer: One can set the footer design as per the requirement. You can even keep it as one or multi-column, as per your choice. Additionally, a footer can also contain Copyright information, social icons, as well as other legal information such as the Privacy Policy, Terms of use, and so on.
Once you become ready with these four sections, you would be able to create a responsive page. This is a quick and effortless process. Further, we would move to create a Bootstrap website using the TemplateToaster Bootstrap builder.
Creating a Bootstrap Website with TemplateToaster Bootstrap Website Builder
The TemplateToaster is the simplest approach to creating a Bootstrap website. Since the pages created through TemplateToaster Bootstrap website builder are responsive by default, one does not need to put extra efforts in making the theme responsive. Following are the steps for this process:
Step 1: Select the CMS Platform
The first step is to download and install the TemplateToaster on your device and choose the CMS platform as per your choice. In case you want to build a dynamic website, the different CMS platforms can be Joomla, WordPress, Magento, Drupal, etc. For creating a static website, HTML is a good option to choose from.
Step 2: Select the Sample Template
The next step is to choose whether you want to create a custom template from scratch or if you want to go for a sample template. The sample template can be downloaded easily from the template gallery.
Step 3: Move to the General tab
Using the sample template in the General tab, one can make use of a number of options like favicons, typography, sidebar and so on. In the same way, one can also set the website preferences.
Step 4: Setup the layout
This step involves setting up the container layout. This can be either fluid or fixed. The width, border, and margin can be set up as per your choice. The effects, typography, and texture can be easily adjusted as per the requirement.
Step 5: Move to the Menu tab
After you have set up the layout, it is time to go to the menu tab. Here, one gets the option to place the menu items as well as set up the logo. The menu button can be aligned vertically or horizontally. Additionally, the typography and background color can also be separately set.
Step 6: Include a Slideshow in the Website
Adding a beautiful slideshow to the website. Along with that, you can also include a great facility for including a video in the same slideshow. The background color can be set in contrast, along with a good foreground image. The text area can be easily used to display the content.
Step 7: Make changes to the Content in the Content Area
Next is the main content area where one can display the content on the website. Once you double-click over the dummy content, it will automatically enable the editor to help you make changes to the content section.
Step 8: Design the Footer
The footer is also an essential part of the Bootstrap website design. It can be used to include social icons as well as distinct and crucial information such as contact us, address, FAQs, and so on. With these steps, you could create a Bootstrap website using TemplateToaster.
Conclusion-
Creating a Bootstrap website is not at all a difficult task, and this has been illustrated in the above simple-to-follow steps. This tutorial would not only help you in creating a Bootstrap website but also help you in getting it responsive and running within no time without the need for any additional plugins or help.
You can also explore tools like the Blueprints App, a bootstrap website builder and wireframing tool based on the bootstrap 4 technology.


Absolutely composed content material, Really enjoyed reading.