


5 Easy steps to add the grunge texture to your images –
Step 1- To begin with, you will need an image to apply the effect.

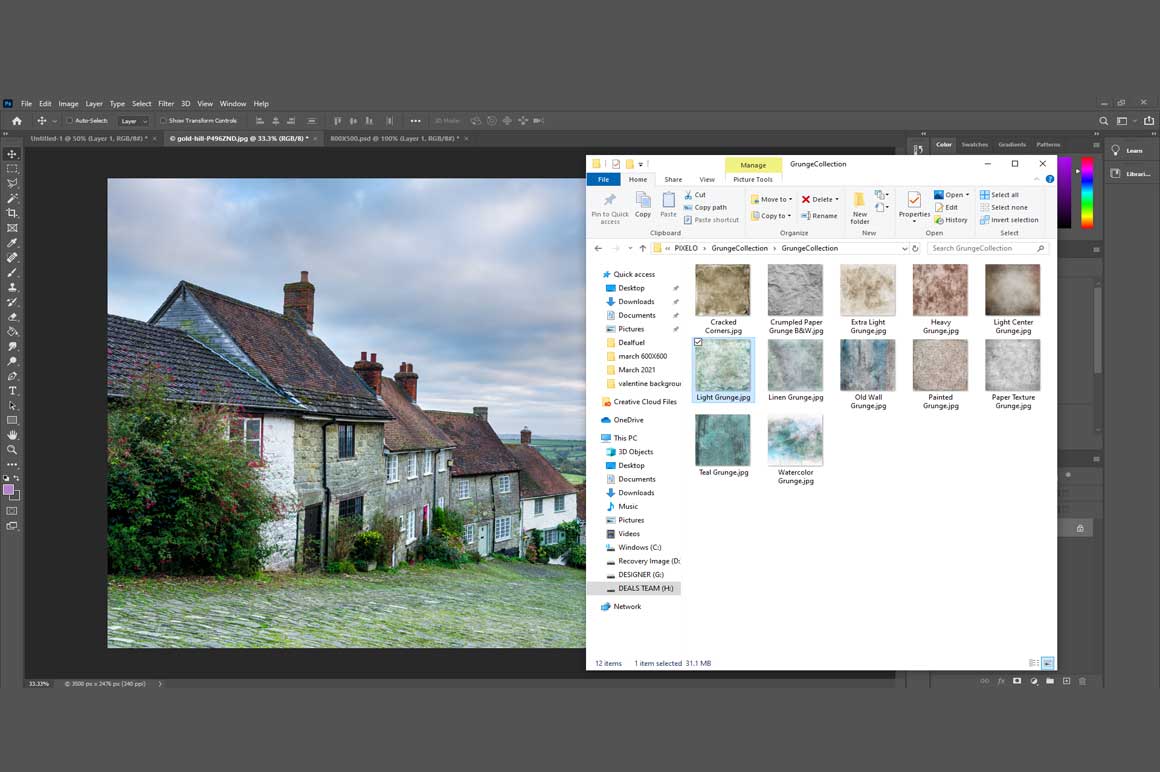
Step 2- Open the grunge texture folder on your mac or window. Select the texture you want to add to the image and drag it as seen in the picture below. You can also open these textures in Photoshop and apply them to the image.
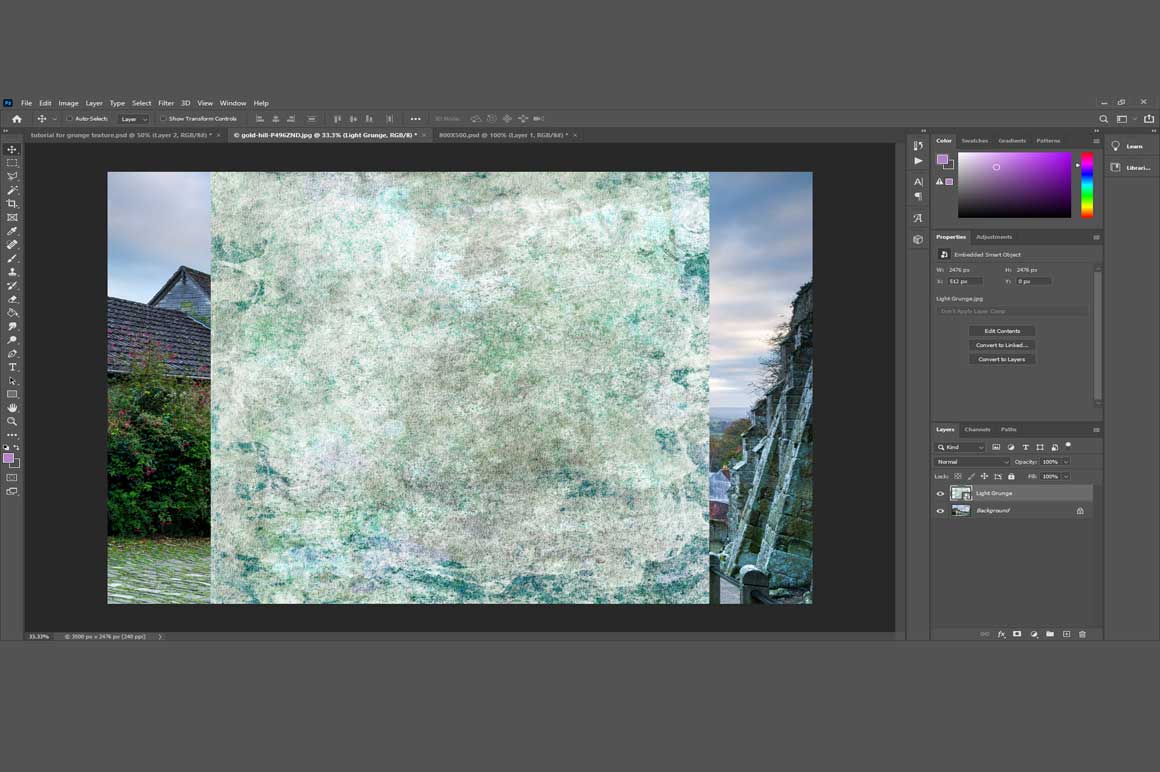
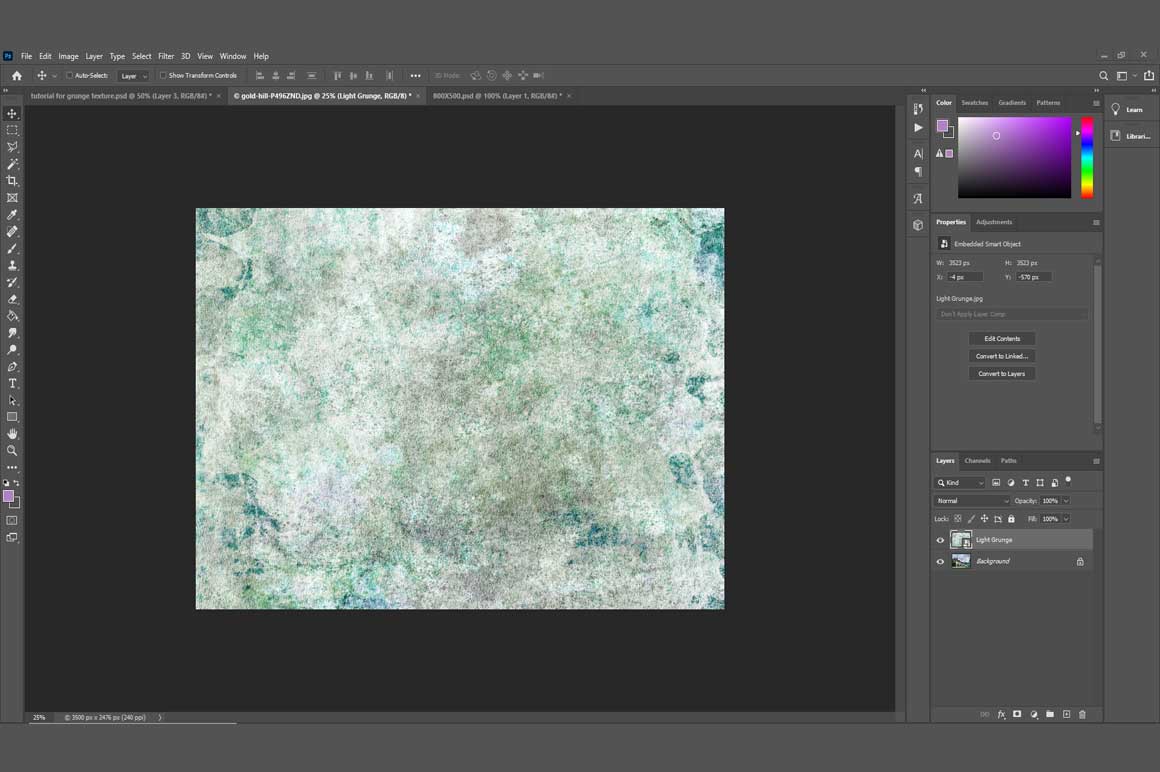
Step 3: Use the transform tool in Photoshop to extend the selected texture to match the size of the image.
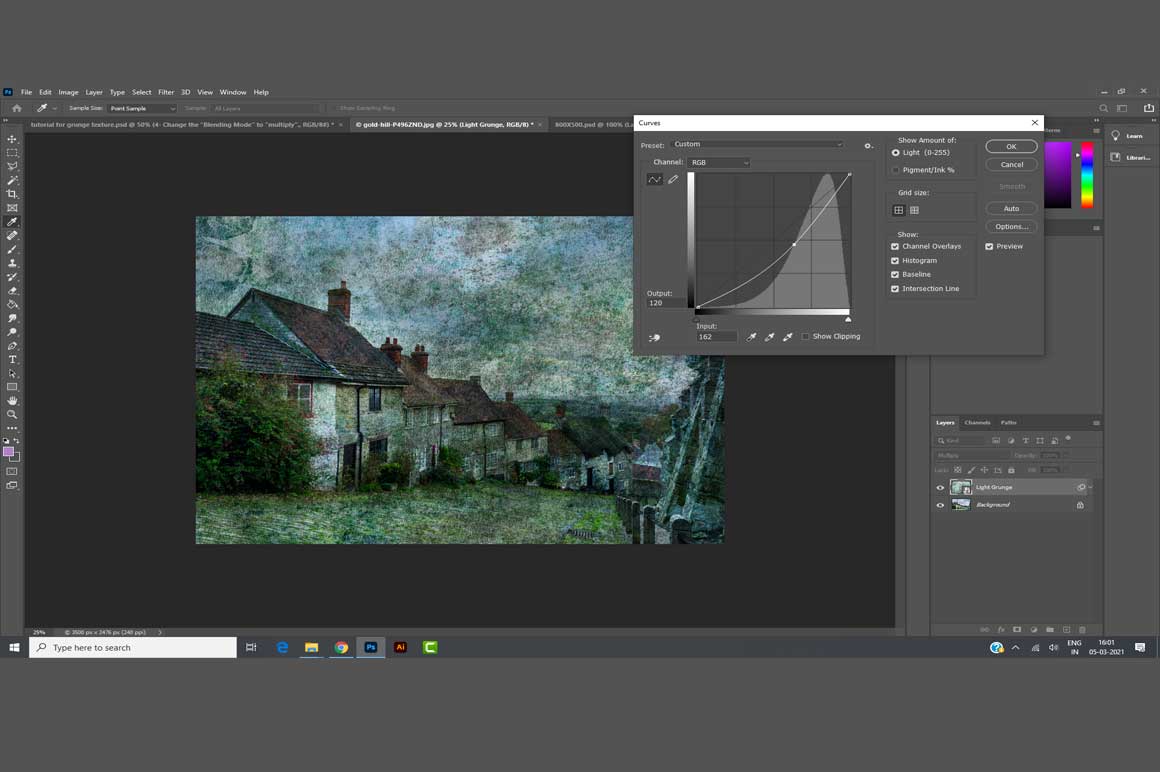
Step 4: Change the “Blending Mode” to “Multiply”. In the adjustment panel, open curves to change the light or dark effect on the image.
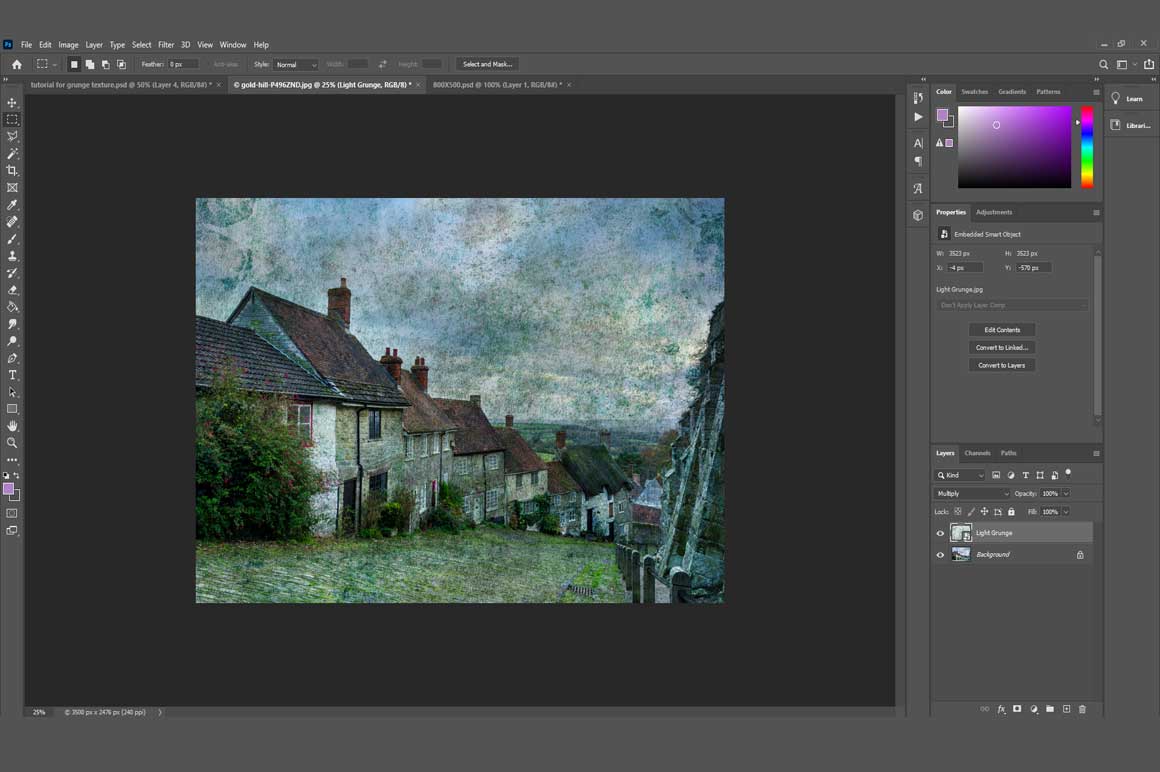
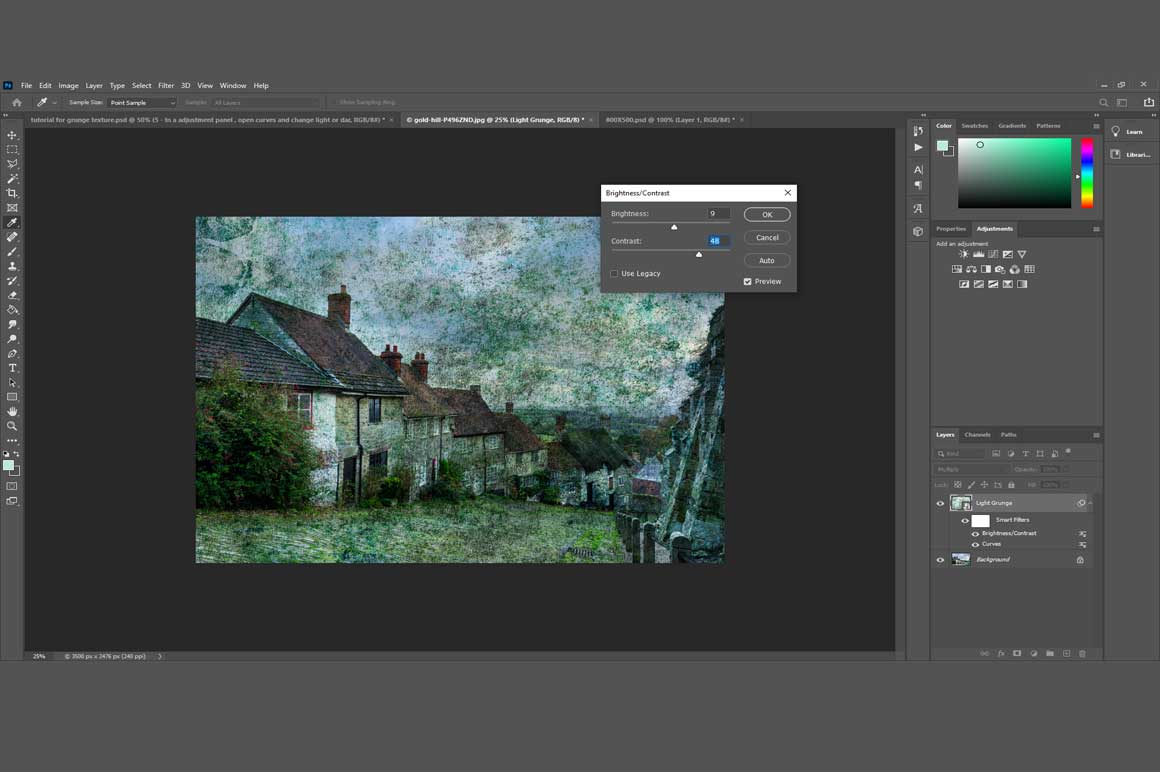
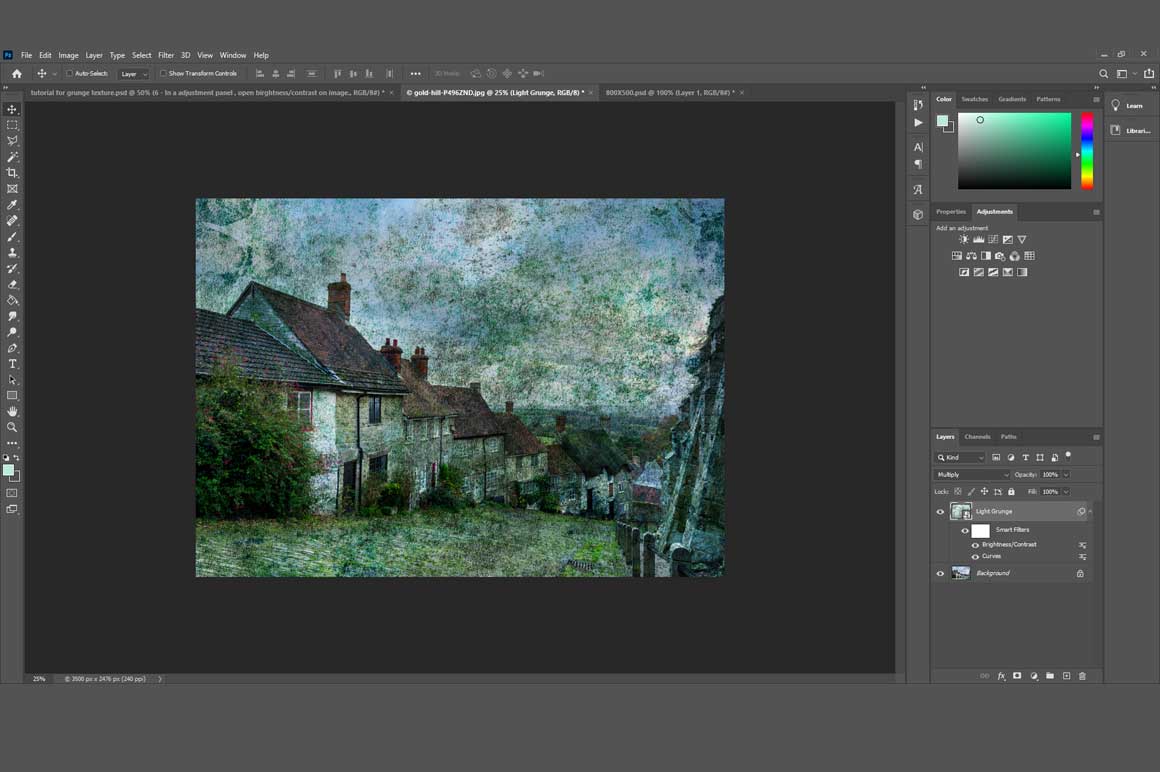
Step 5: In the Adjustment panel, open brightness/contrast tool and make the changes as required. That’s how easy it is to add drama with these grunge textures to any image.


Reviews
There are no reviews yet.