


Are you looking to build an eCommerce website with WordPress but confused about where to start?
Users’ shopping and purchase behavior have significantly changed over the last few years with the increasing pace of the fast-paced lifestyle.
Ditching the traditional offline shopping experience, users now prefer to shop online, whether it’s a product or service. Moreover, a recent Statista report highlighted that eCommerce revenues are estimated to reach $4324 billion and continue to grow at a CAGR of 8% till 2030.
While you must be amazed at the wow figures and want to start your own eCommerce business, this article will be your go-to guide.
Let’s begin and learn from scratch.
How to Build an eCommerce Website
Benefits of Building an Ecommerce Website
Now that you’ve decided to create an eCommerce website, let’s explore the benefits you can get with it:
- 24/7 Availability & Wider Reach: Unlike physical stores with fixed hours, an eCommerce website can operate 24/7, allowing customers to shop anytime, anywhere. This flexibility boosts revenue potential and helps you reach a global audience beyond geographical boundaries.
- Lower Operational Costs: Running an online store is significantly more cost-effective than maintaining a brick-and-mortar shop. You can save on rent, utilities, and staffing while leveraging digital marketing strategies to drive traffic at a fraction of traditional advertising costs.
- Increased Customer Convenience: Modern consumers prefer the ease of browsing, comparing, and purchasing products from the comfort of their homes. An eCommerce website enhances user experience and satisfaction by offering secure payment gateways, easy checkout processes, and multiple delivery options.
- Data-Driven Insights & Personalization: WAn eCommerce platform allows you totrack user behavior, analyze sales patterns, and personalize shopping experiences using data-driven insights. This allows you to recommend products, offer targeted discounts, and improve customer retention.
- Scalability & Business Growth: Expanding an online store is more straightforward than scaling a physical business. Whether you want to add new products, integrate third-party tools, or explore international markets, your eCommerce website allows growth without heavy investment.
- Diverse Payment & Marketing Options: An online store supports multiple payment methods, including credit cards, digital wallets, and net banking. To maximize visibility and conversions, you can implement various marketing tactics, such as email campaigns, SEO, social media promotions, and influencer collaborations.
Essential Prerequisites To Build Your eCommerce Website
Creating an eCommerce website requires adding many pages and technical inclusions, which is partially true and can also be complex.
However, since WordPress’s inception, website building has been significantly simplified. Further, with the growing demand for third-party plugins, adding complex functionalities has become a matter of a few button clicks.
By now, I hope you have an idea of the potential of eCommerce businesses compared to the difficulty of creating them.
Now, let’s explore the crucial prerequisites and elements you need to create a successful eCommerce website on WordPress without coding.
- A unique domain name that reflects your business’s purpose
- A reliable Web Hosting Provider
- WordPress Platform
- A Responsive WordPress theme
- An eCommerce website template
- Plugins to Add Functionality
These broad requirements would be needed to create your online store website. We will now explore each of these and how to use them in detail.
Also, we suggest a few recommendations that you might consider using that will offer you additional benefits.
How to Build an Ecommerce Website With WordPress
Follow the process mentioned below to create your retail store website.
Choose a Web Hosting Provider and Get A Domain Name
A domain name and web hosting service are the basic requirements for creating any website.
Your domain name is your website’s unique address (e.g., yourstore.com), so it’s important to select a domain name that reflects your brand and is easy for customers to remember.
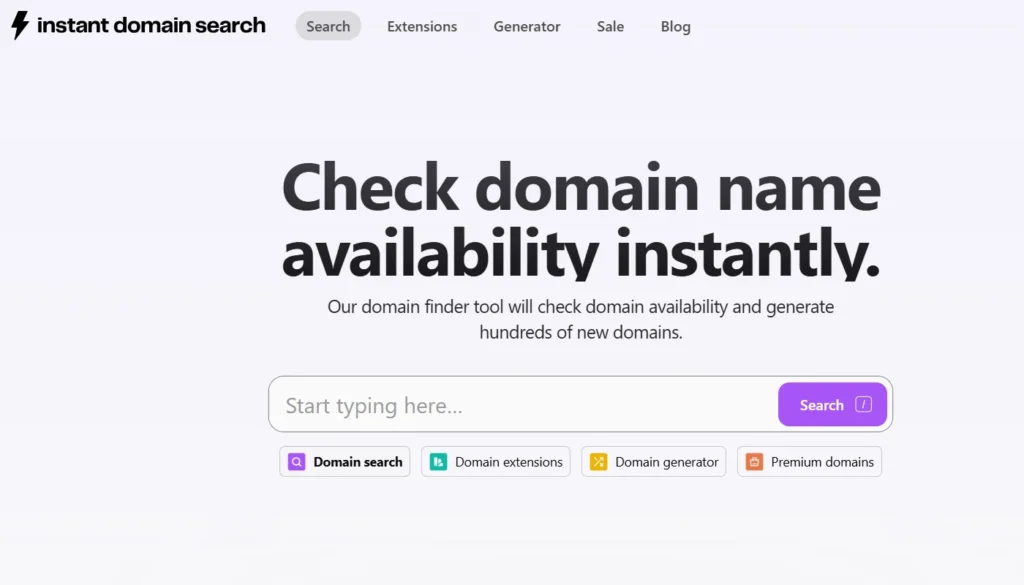
While you may think you can quickly acquire any domain name, you are delusional. Businesses already take most domain names; hence, before purchasing a domain name, you must first check its availability. You can use tools like instant domain search to find out if the domain name you want is already taken.
Once you finalize the domain, the next step is to select a reliable web hosting provider. Web hosting is a service that allows individuals and organizations to make their websites accessible on the Internet.
It involves storing website files on servers, which are potent computers always connected to the internet. You need a provider that ensures high-speed performance, security, and scalability for an eCommerce website.
While various web hosting services are available, we will use Bluehost’s example to explain how to get started.
Visit the Bluehost website and click on Get Started.

Upon clicking, you will be taken to their signup page, where you will be asked to choose a pricing plan.
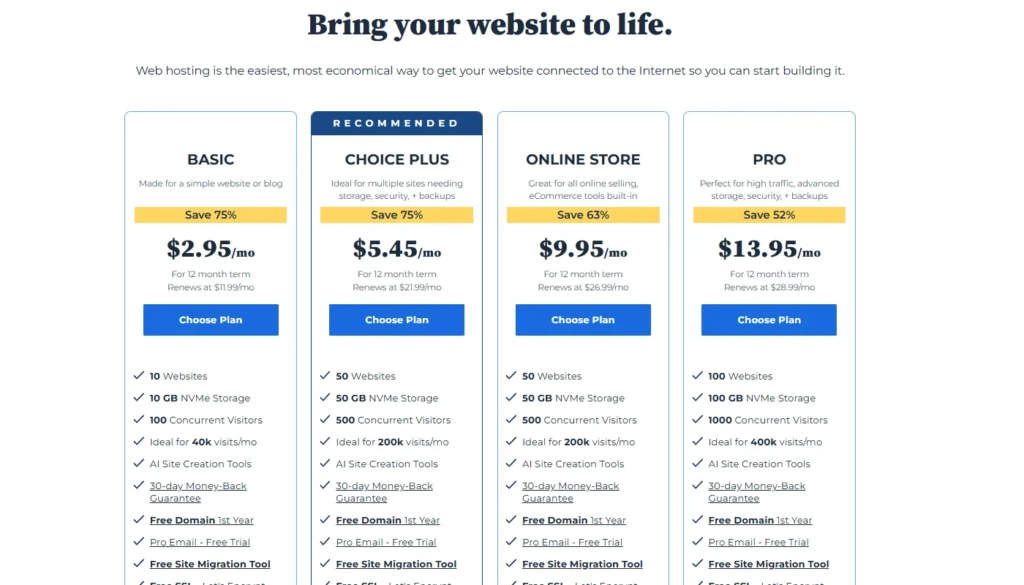
Choosing the plus plan is wise for running a small-scale or mid-scale business. After selecting the plan, enter your website’s domain name.
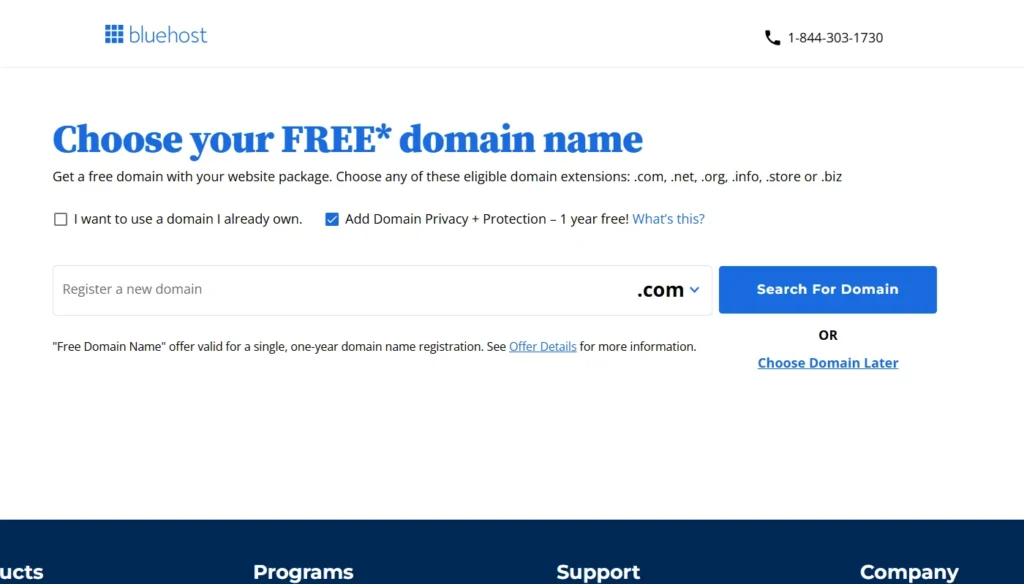
However, Bluehost also offers a free domain name, so if you haven’t already, you can get one from Bluehost.
Once registered with hosting, you’re ready to take further steps.
Install WordPress
After registration with the hosting provider, you must install the WordPress platform.
All hosting providers majorly offer one-click Installation for WordPress through their login dashboard.
Below are the steps to install WordPress using the one-Click Installation feature:
- Log into Web hosting.
- Go to the control panel.
- Click on the WordPress icon (Install WordPress), which you can find under the website section.
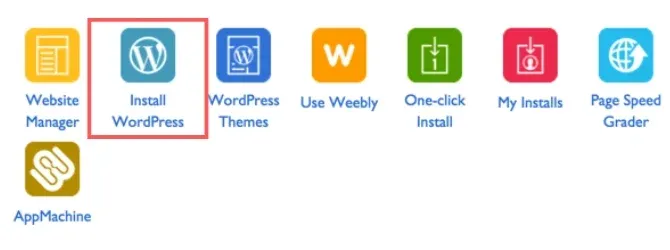
- Choose the domain where you’d like to install WordPress.
- Enter the site name, admin username, and admin password of your choice, then click on “Install Now.”
Congratulations! You’ve successfully installed WordPress and are ready to build your eCommerce website.
Select a WordPress Theme
Once Wordpress is ready, you need a suitable theme with the best layout to customize your website.
A WordPress theme is a collection of files that determines the design and layout of a WordPress website. It determines your website’s overall appearance, functionality, customization features, and responsiveness.
While the WordPress directory hosts over 50,000+ themes for different purposes, we recommend you use the Cyberchimps Responsive Theme. This free, powerful, and versatile WordPress theme specializes in offering a layout for eCommerce websites.
Boasting a 100% GTMetrix score, the theme offers seamless loading speed and is SEO optimized. Additionally, it has a clean and intuitive layout, balancing functionality and aesthetics well.
Learn more on the Cyberchimps Responsive Theme.
Let’s now learn how to install and use the Responsive theme.
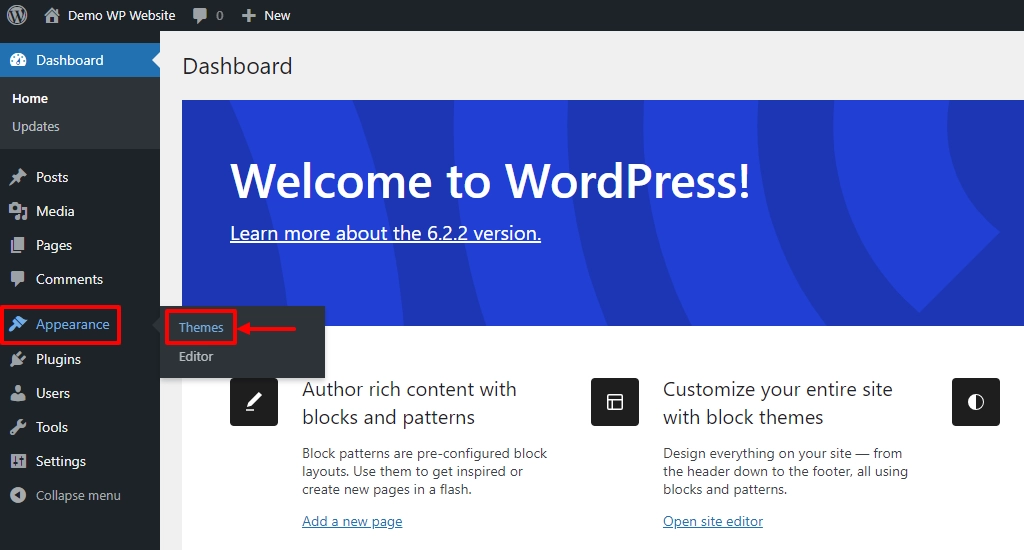
Install and Activate the Responsive Theme
Log in to your WordPress admin dashboard and navigate to Appearance > Themes > Add New Theme
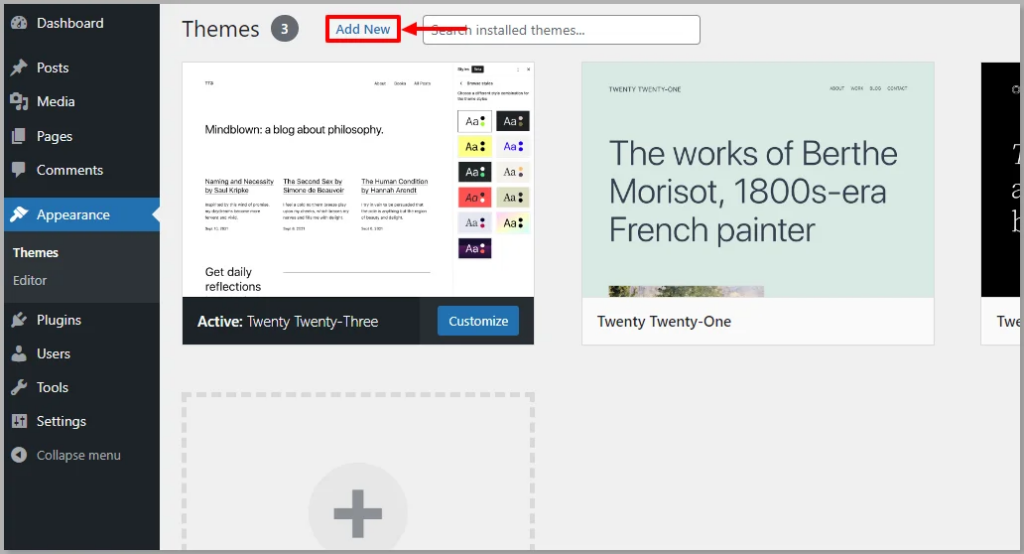
Search for Responsive on the search bar
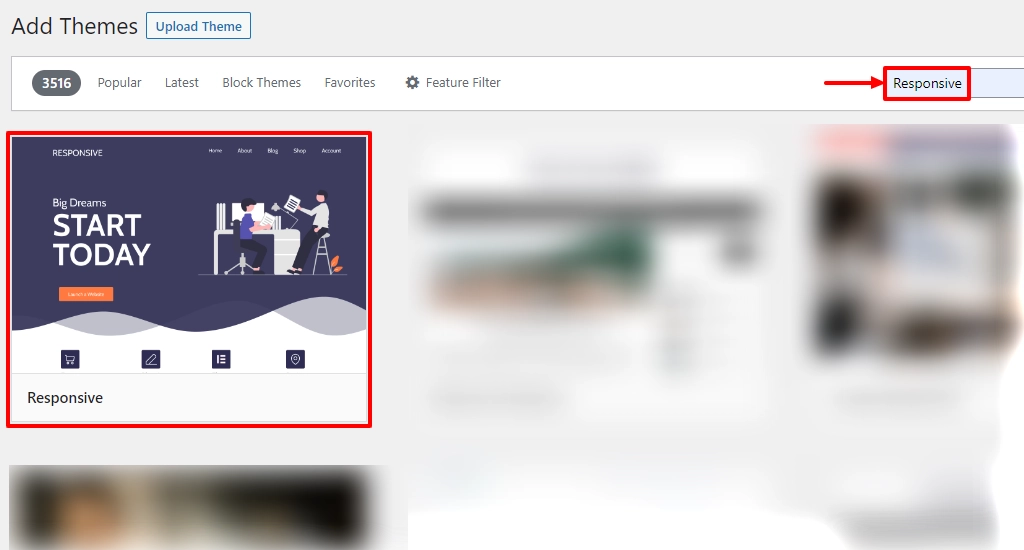
Click on Install Now to start installing the Responsive theme

Activate Responsive theme

Import an eCommerce Template
Once you have a theme, you can create a website from scratch or use a pre-built template to create it instantly.
As suggested previously, if you have used the Cyberchimps Responsive Theme, you can also take advantage of the Cyberchimps Responsive Platform. The platform offers the Responsive Plus – Starter Templates plugin, offering 250+ ready website templates, including various eCommerce templates such as:
- Diamond Store Website Template
- Shoe Store Website Template
- Retail Store Website Template
- Electronic Store Website Template
- Jewellery Shop Website Template
This tutorial will show you how to install the plugin and import the Shoe Store template from Responsive Starter templates.
Install and Activate Responsive Plus Plugin – 250+ WordPress Templates.
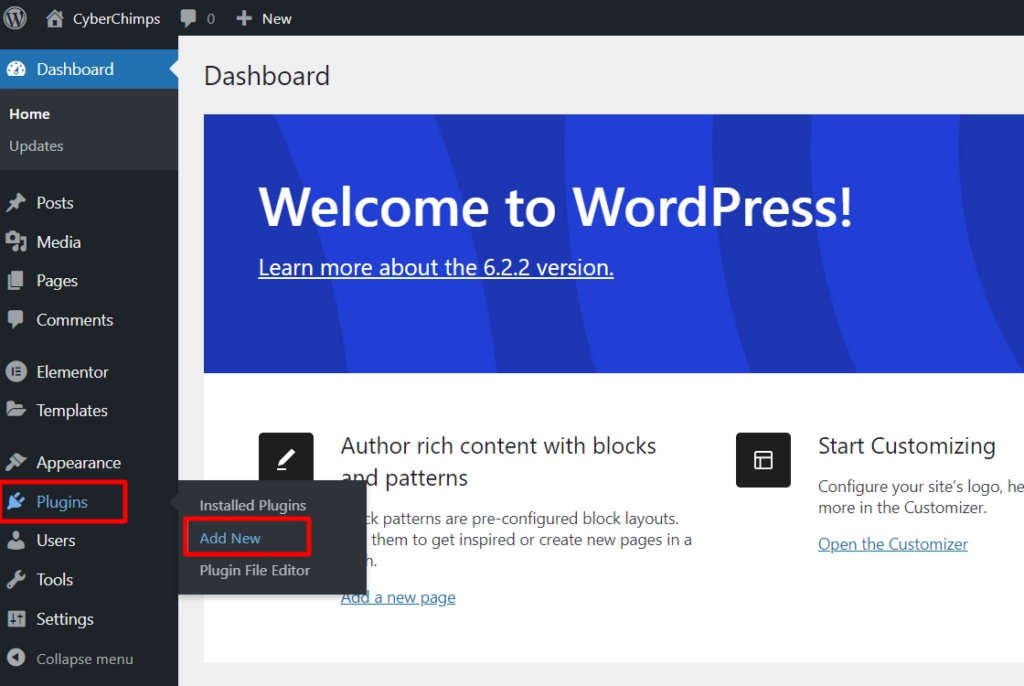
From your WordPress dashboard, navigate to Plugins > Add New Plugin.
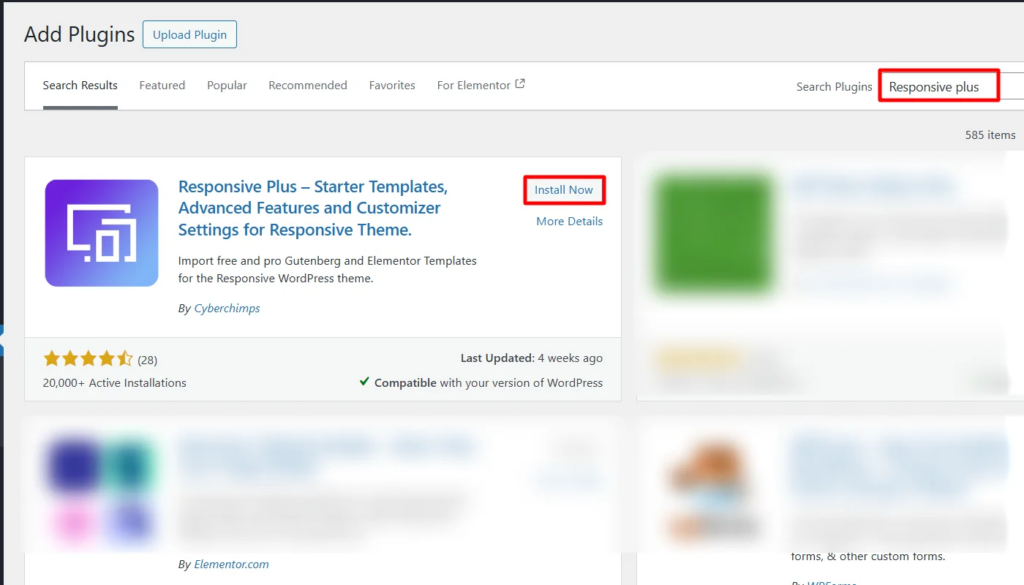
Search the Responsive Plus plugin in the search bar and click Install Now.
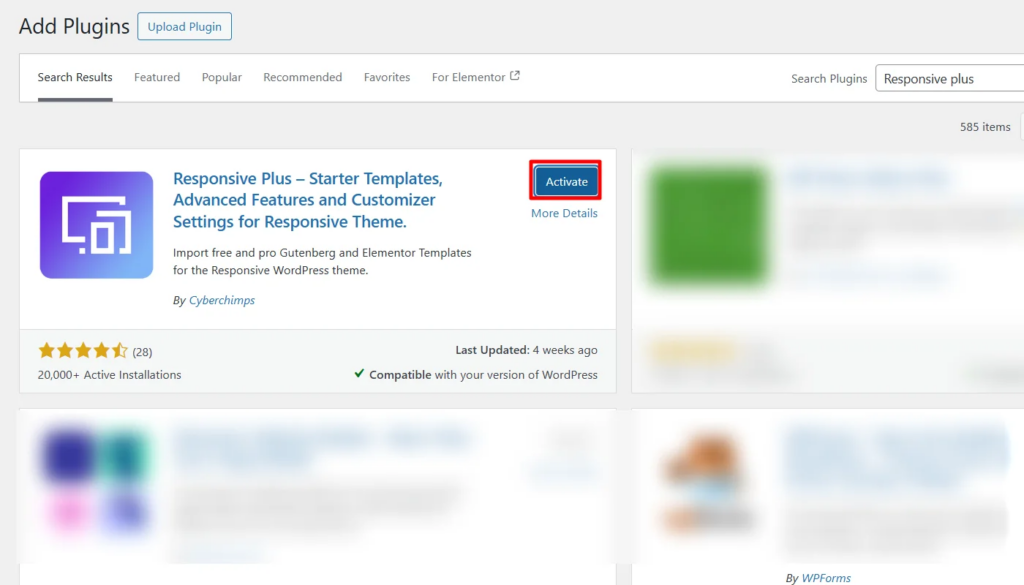
To activate the plugin, click on Activate after installation.
Import An eCommerce Template
Once The plugin is installed and active, let’s understand how you import a template.
(Note: The plugin offers 250+ responsive website templates for this article, so we will import the Shoe store template. You may also choose another niche-specific template, such as photography, florist, eCommerce, etc.)

Steps to follow to import the eCommerce template:
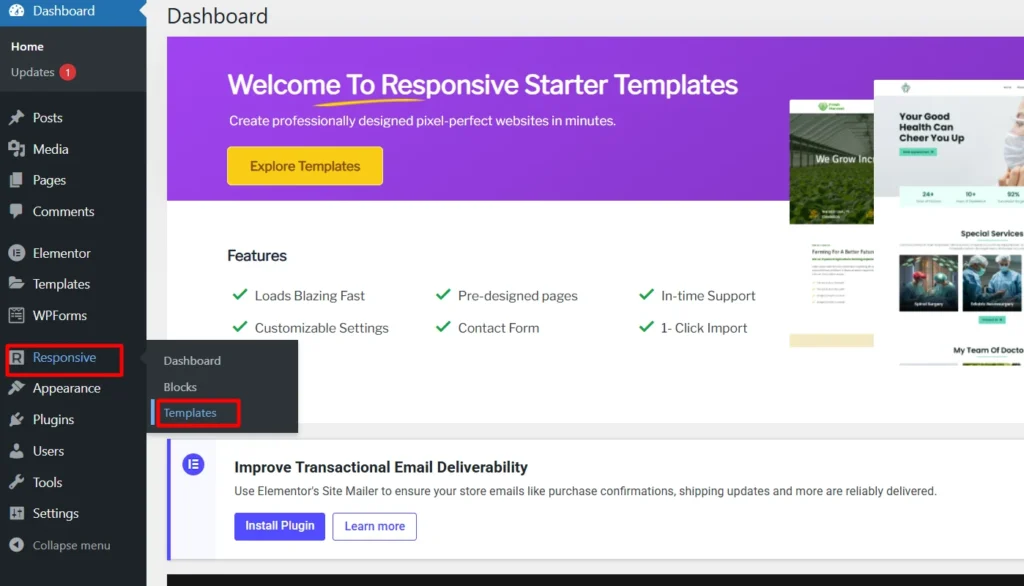
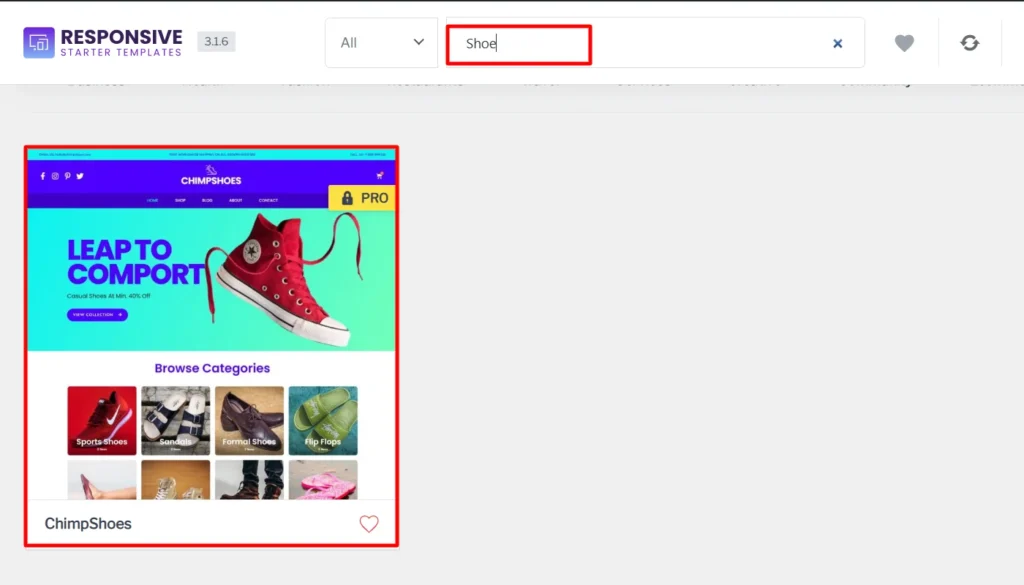
Hover on Responsive and click on the Templates button.
Search for eCommerce in the search bar option and search Shoe Store template and click on the Chimpshoes template.
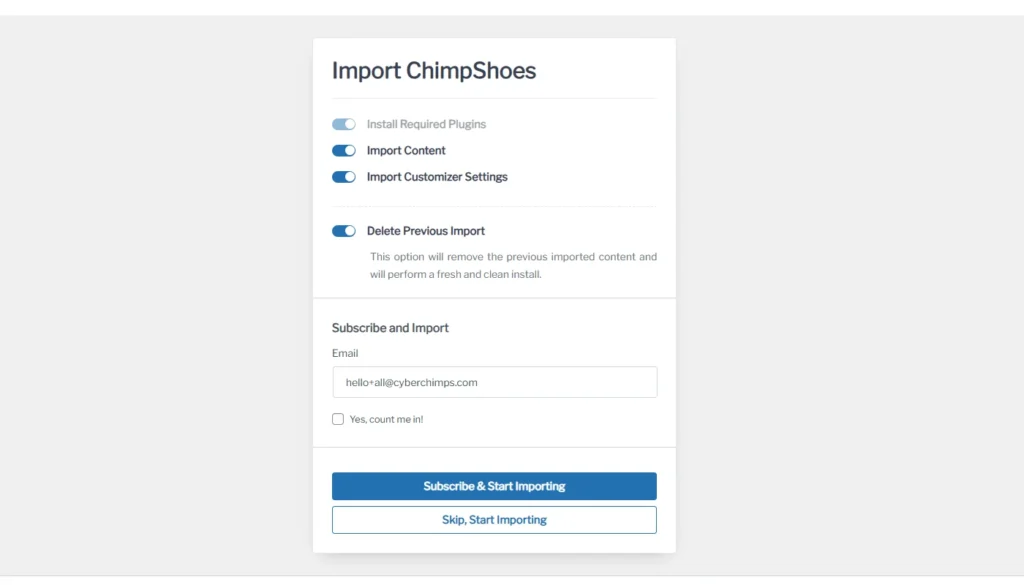
Click on the Import Site button.

Next, click on the Subscribe and start importing button.
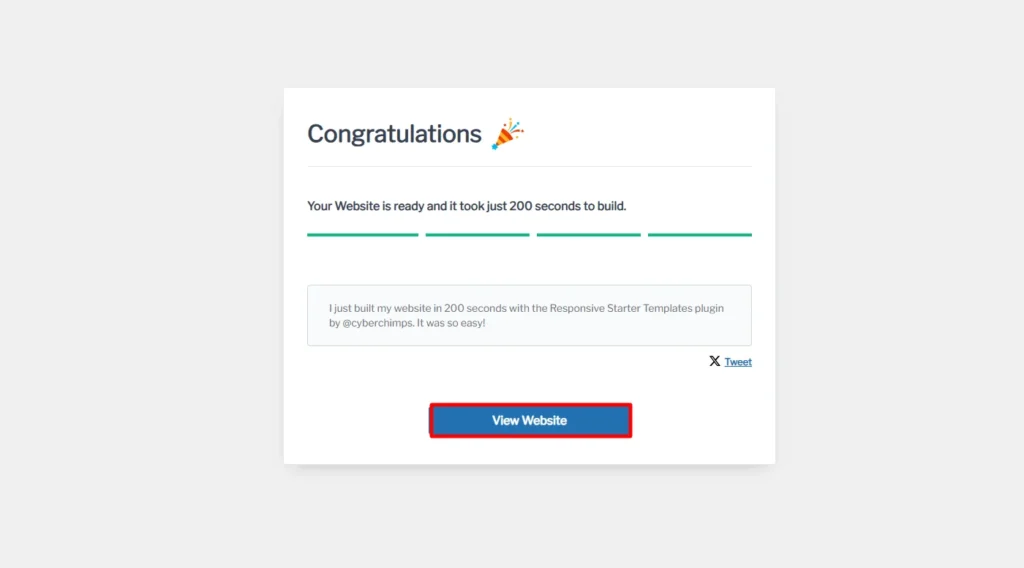
Once imported, click on View Website and check the imported template.
Adding Relevant Pages and Setting Up Navigation
Now that you have installed a template representing your business, you can add new content to your website.
Now, let’s look at the four must-have pages on your website:
Homepage
The homepage is the first page users will see on your website, so make sure it makes a strong first impression!
Your homepage gives visitors a sneak peek of your business. For an eCommerce brand, it should mainly highlight the user’s best or last visited products.
It should also highlight the offers, sale propositions, and other essentials you are operating on your website.
Products Page(s)
For an eCommerce brand, product pages are the most important pages. Whatever niche you are selling on your website, customers generally search for them.
Users generally transact and make purchases based on the content and appeal of the products on the page.
About Us Page
Buyers are curious to know more about the brand they’re doing business with. Use this opportunity to tell the world about what your business stands for.
You should include an about page on your website to explicitly share your vision, mission, values, and dedication to serving your users.
Contact Us Page
Visitors need to know how to get in touch with you. The Contact Us page serves this purpose.
Mention your business hours, physical address, phone number, email address, and other applicable contact details.
You can add additional pages depending on your requirements. For example, if you want to start a blog about your products or business or help your customers solve their problems, you can add Posts similar to Pages.
Setting Up a Navigation Menu
As one of the most navigated websites, your website tends to be visited frequently before users purchase.
Once you have added prominent pages to your website, it’s essential that your visitors quickly discover them.
Setting up a navigation menu at the top of the page helps us do that.
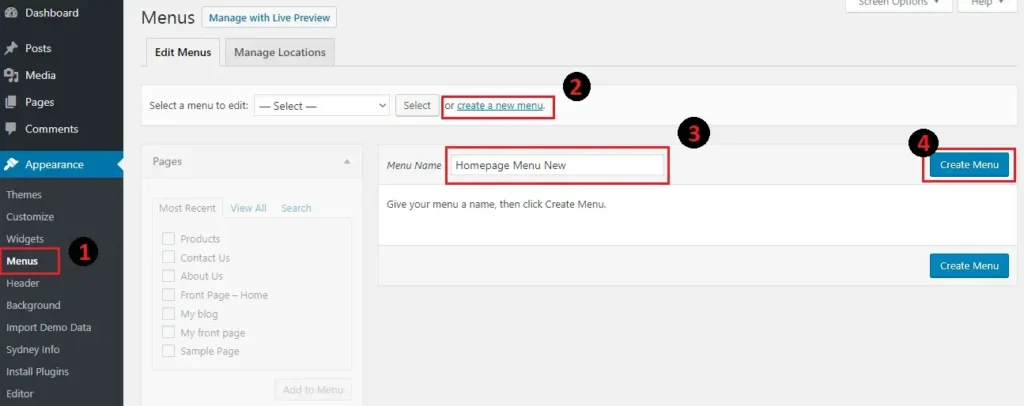
To set up a navigation menu, follow the below steps:
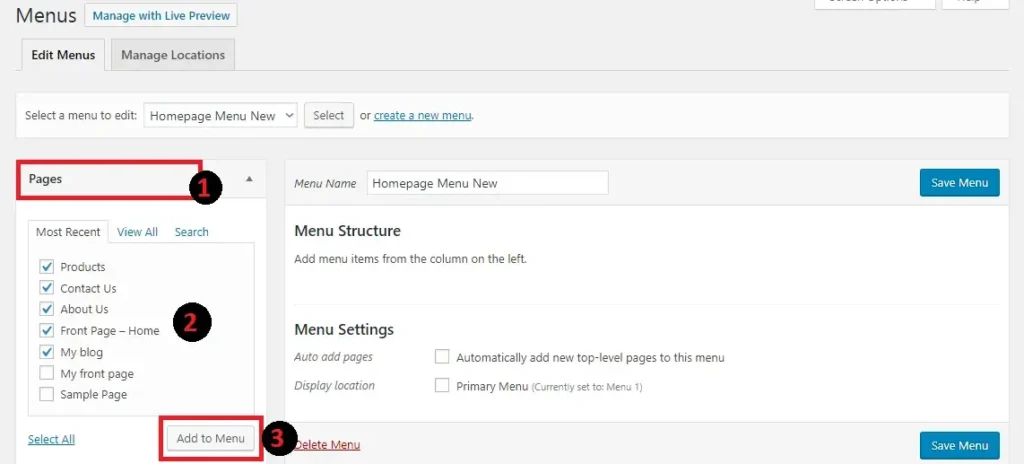
- Go to Appearances > Menu
- Click on Add New Menu
- Type in the name of your menu in the Menu Name text box
- Click on the Create Menu button
Once you create your menu, you can add pages, pages, categories, or external links to it as below:
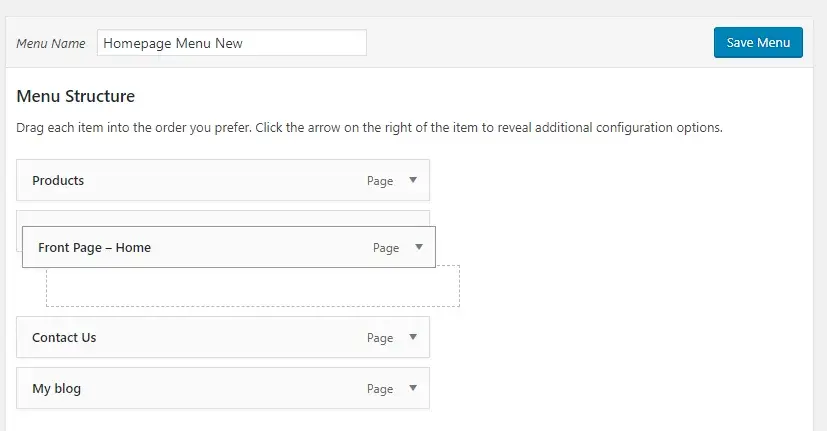
Once you add menu elements, you can drag and drop to rearrange their order. And once you’re done, hit Save Menu:
After saving the menu, perform the following steps to set it as your primary menu:
- Click on the Manage Locations tab
- From the Primary Menu drop-down, choose the menu of your choice
- Click on Save Changes
Add Functional eCommerce Plugins
To enhance the functionality of your eCommerce website, you need to install essential WordPress plugins. These plugins help with payment processing, security, SEO, analytics, and inventory management.
Some crucial functionalities that plugins add include:
- Payment gateway integration
- Cart and checkout features
- Customer account management
- Product filtering and search optimization
- Marketing and promotional tools
3 Best eCommerce Plugins
Now, let’s explore the top eCommerce plugins that can transform your website into a fully functional online store.
1. WooCommerce
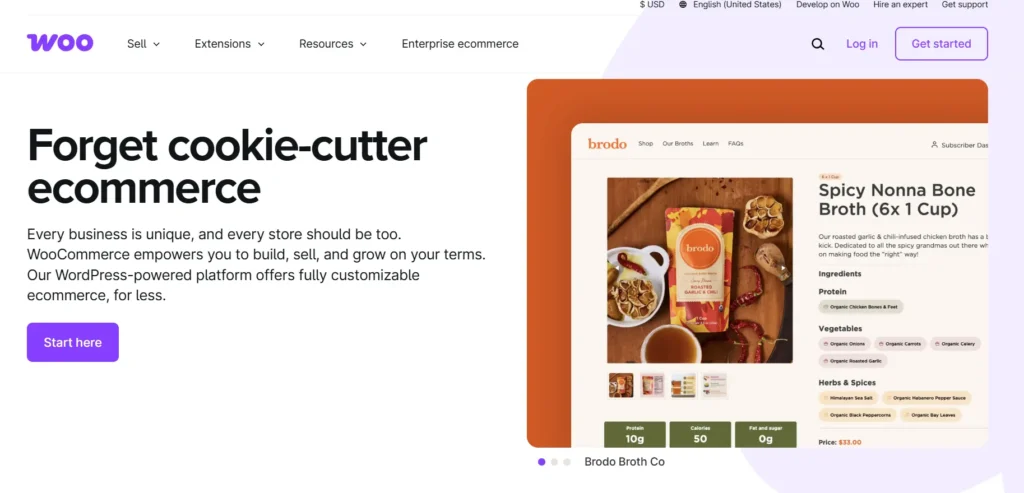
WooCommerce is the most popular WordPress eCommerce plugin, powering millions of online stores. It offers a complete solution for selling products, managing inventory, and processing payments. Key features include:
- Easy product management
- Multiple payment gateways
- Flexible shipping options
- Customizable checkout process
2. Easy Digital Downloads (EDD)
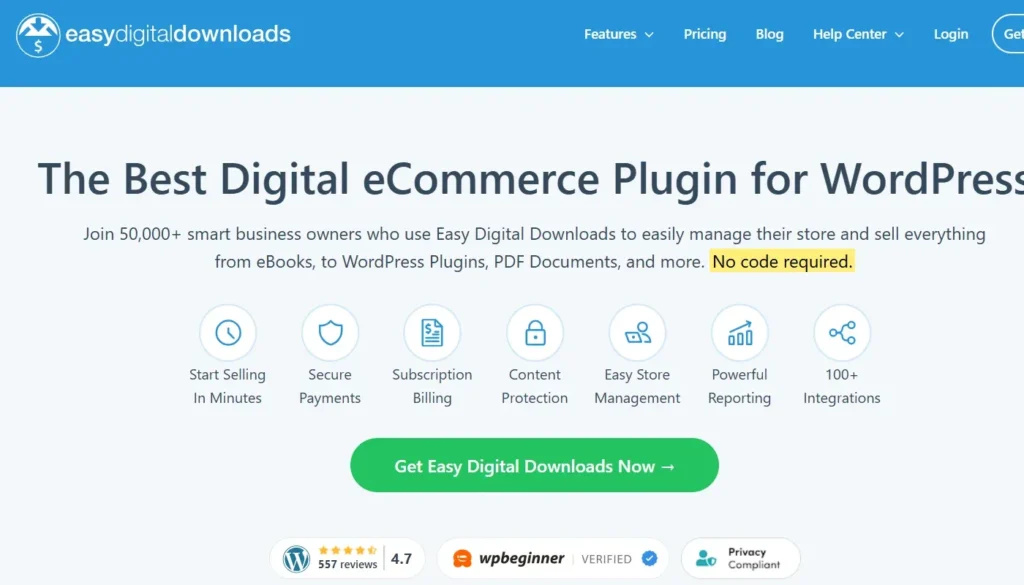
EDD is an excellent option for selling digital products such as eBooks, music, software, and courses. It provides a seamless experience with:
- Secure file delivery
- Discount codes and promotional offers
- Data reporting and customer management
3. BigCommerce for WordPress
BigCommerce integrates seamlessly with WordPress and offers robust scalability for large online stores. Key benefits include:
- Multi-channel selling (Amazon, eBay, Facebook, etc.)
- Secure and fast checkout process
- Built-in marketing tools and analytics
While you might consider using any of these tools, we recommend WooCommerce because of its efficiency and reliability.
Saying this now, let’s install and activate WooCommerce, the most widely used eCommerce plugin for WordPress.
Install and Activate WooCommerce Plugin
WooCommerce is a free plugin that allows you to set up and manage an online store efficiently. Follow these steps to install and activate it:
1. From your admin dashboard, navigate to Plugins > Add New Plugin.
2. Search for “WooCommerce” in the search bar and click Install Now.

3. Once installed, click Activate to enable the plugin.

Follow the on-screen setup wizard to configure your store settings.
With WooCommerce activated, let’s move on to adding crucial business details.
Adding Relevant Features To Site with WooCommerce
Add Business Details
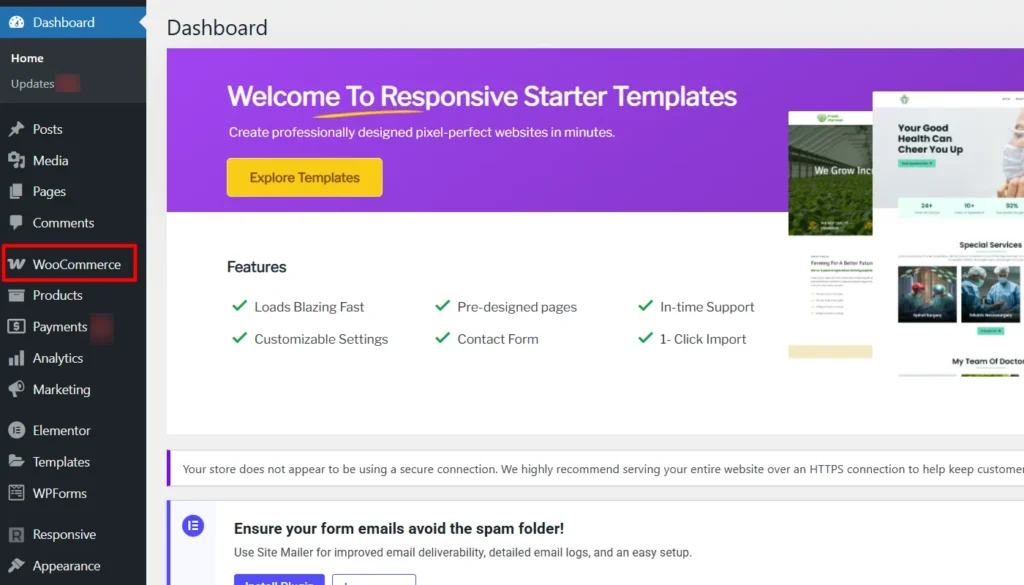
Once WooCommerce is installed, you’ll need to configure your store details.
From the dashboard, click on WooCoomerce to set up your store.
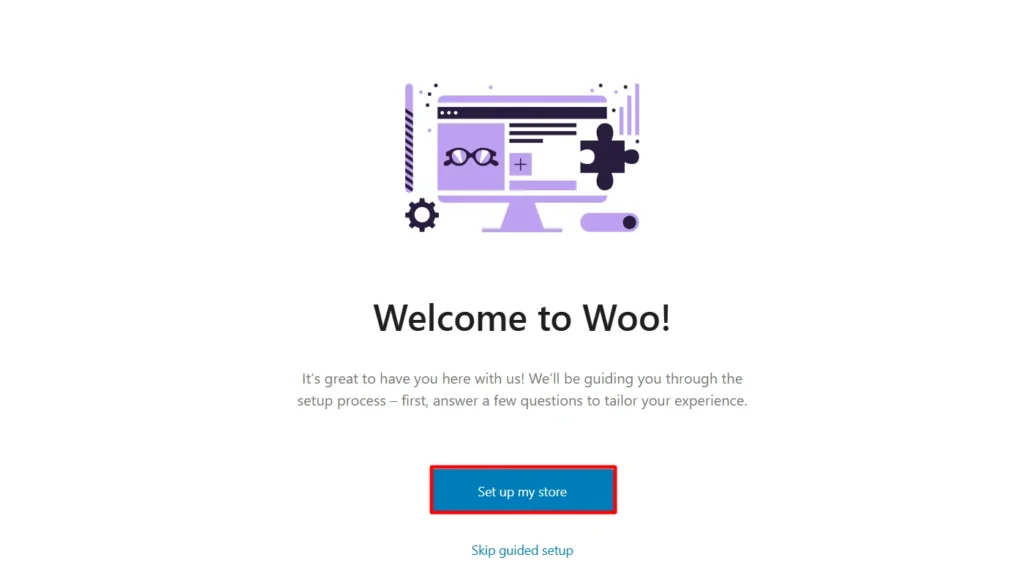
Next, click on Set up my store.
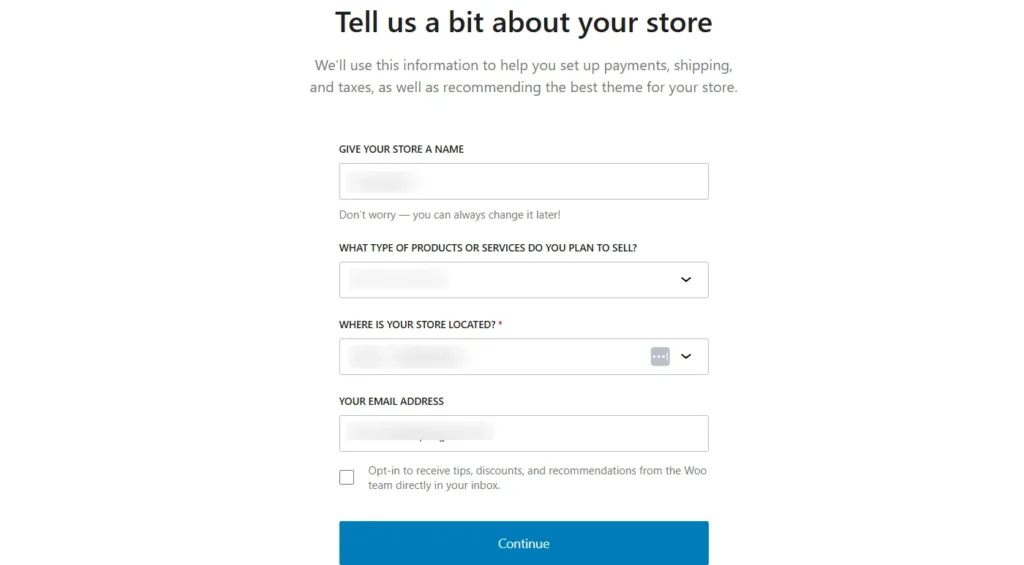
Next, with the wizard set up your business details
After adding these details, you can move on to setting up payment options.
Add Payment Options
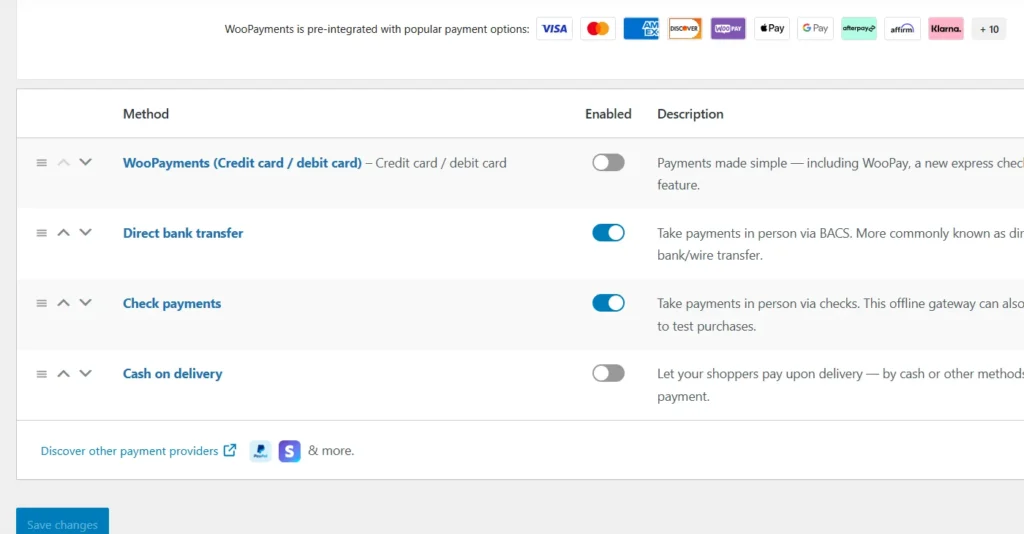
WooCommerce supports multiple payment gateways, allowing your customers to pay conveniently. To configure payment options:
1. Navigate to WooCommerce > Settings.
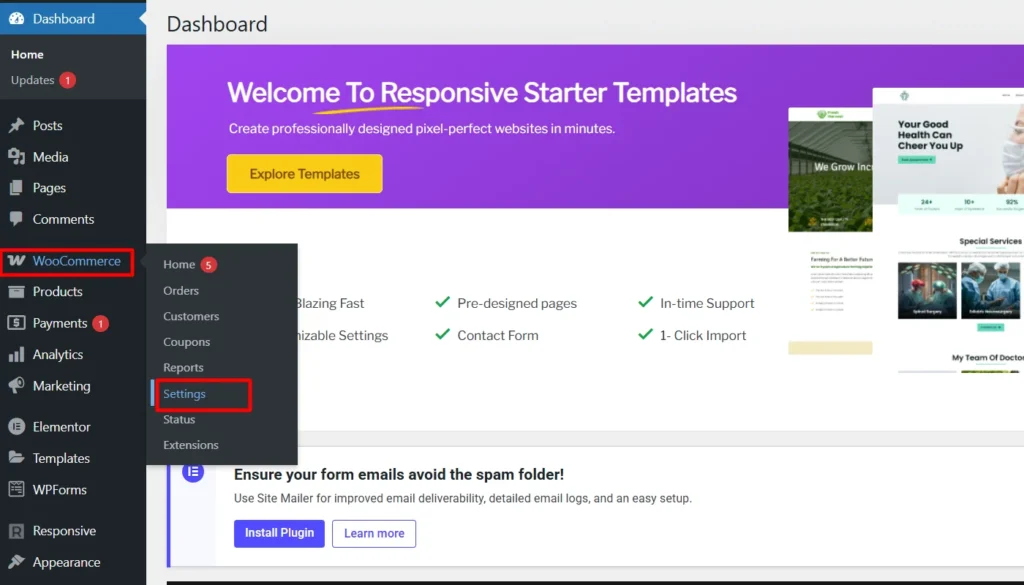
2. Next, click on Payments.
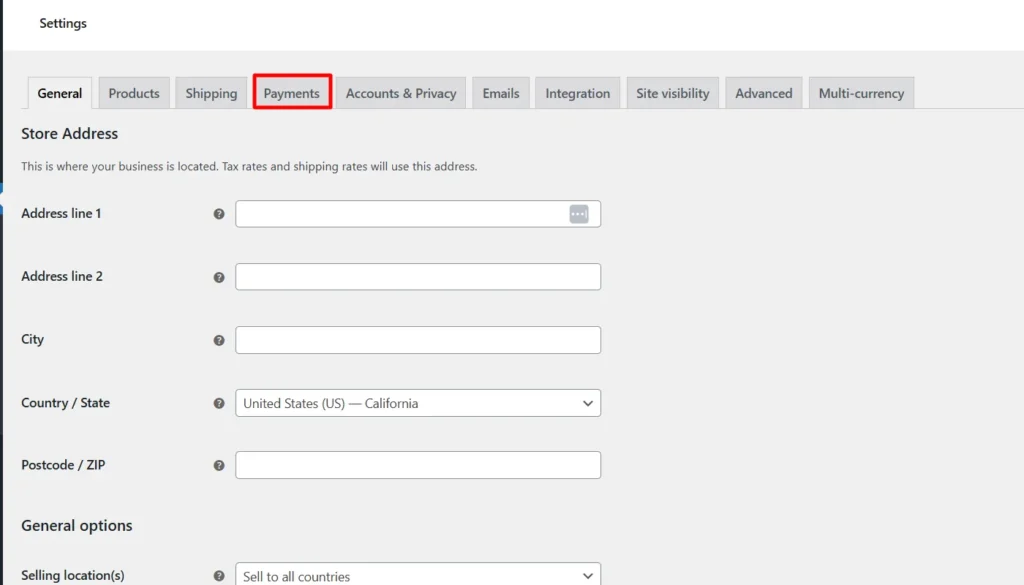
3. Choose payment gateways and save changes.
Add Shipping Options
If you’re selling physical products, configuring shipping settings is crucial. WooCommerce allows you to set up shipping methods and zones based on location. To add shipping options:
1. Go to WooCommerce > Settings.
2. Next, click Shipping.
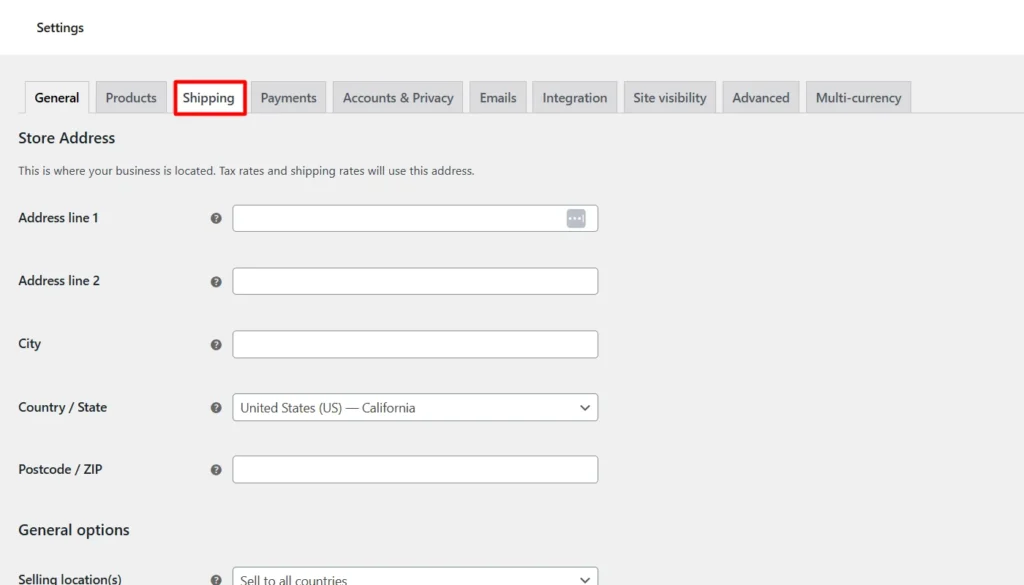
3. Now, click on Add Zone.
(By default, the shipping zone of the USA will be set you can also edit it as well)
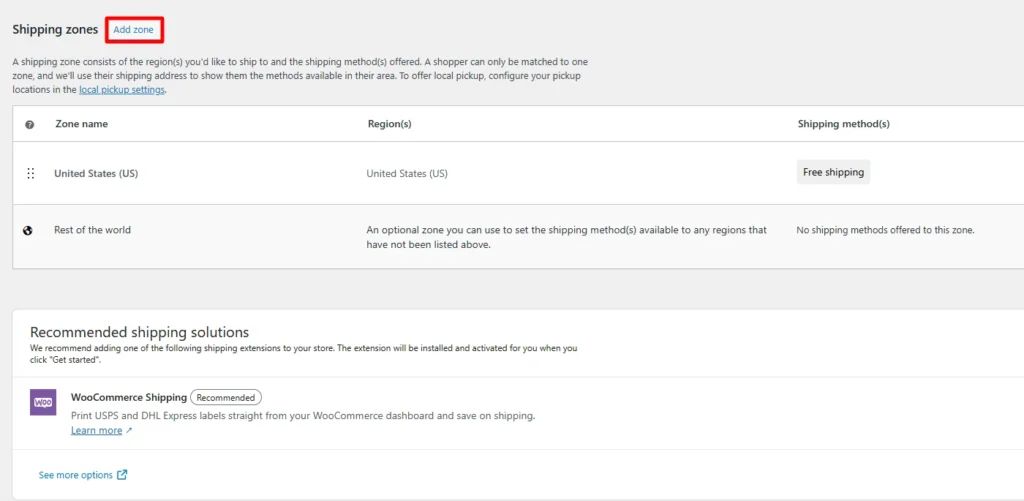
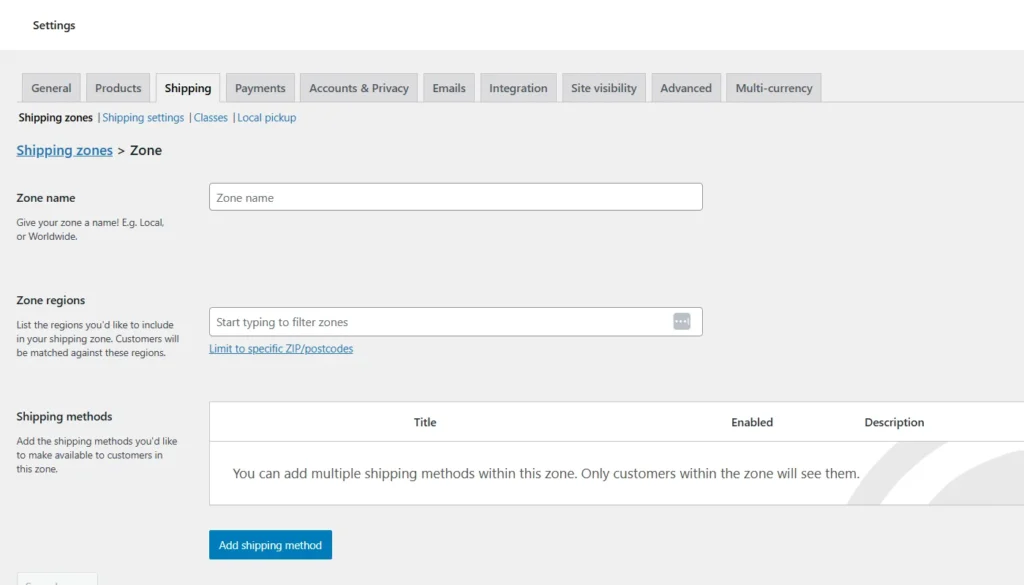
4. Next, set up the Shipping Zone details and click Add Shipping Method.
- Flat Rate – Set a fixed shipping cost.
- Free Shipping – Offer free shipping on specific conditions.
Next, once you have configured the cost and conditions, click Save Changes.
Following the above steps, you can successfully build an eCommerce website with WordPress.
FAQ
Can I Build an eCommerce Site With WordPress?
Yes, WordPress is a powerful platform for building an eCommerce website. By integrating WooCommerce or other eCommerce plugins, you can create a fully functional online store with customizable themes, secure payment gateways, and scalable features.
How to Build an eCommerce Website Step-by-Step?
To build an eCommerce website, choose a domain and hosting, install WordPress, and add WooCommerce. Then, select a theme, create product pages, set up payment and shipping, and optimize for SEO to attract customers.
Is WordPress a Good Platform for eCommerce?
Absolutely! WordPress, combined with WooCommerce, offers flexibility, scalability, and ease of use. It supports multiple payment gateways, SEO tools, and third-party integrations.
How Much Does It Cost to Build a WordPress eCommerce Website?
The cost varies based on hosting, themes, plugins, and customizations. A basic setup can start at $100–$300, while advanced stores with premium themes, plugins, and additional features may cost $1,000 or more.
Conclusion
Building an eCommerce website with WordPress is a straightforward process, especially with the right tools and guidance.
By selecting a reliable hosting provider, installing WordPress, choosing a responsive theme, and integrating essential plugins like WooCommerce, you can create a fully functional online store without coding.
With customizable templates, secure payment gateways, and scalable features, WordPress empowers businesses to establish a strong digital presence. As online shopping continues to grow, launching your eCommerce store now can position you for long-term success.