Do you want to make a landing page in WordPress? No Stress! This guide will walk you through the entire process effortlessly.
We will explore what are landing pages, including their uses, installation, and other related information.
Let’s check out how to create WordPress landing page and funnel visitors into customers.
Here we go!
What Are Landing Pages?

A landing page is a dedicated web page designed to guide visitors toward taking a specific action. Usually, it is to convert visitors into loyal brand customers.
A landing page can be used for –
- Product launch
- Subscription sign-up
- Download pages and more
Unlike normal websites that encourage exploration, landing pages focus all their attention on getting the visitor to take a specific action, like making a purchase or subscribing to an email list.
For example: When someone clicks on an ad, they are directed to a landing page that provides more information about the advertised product.
Advantages of Using Landing Pages
Using landing pages is a strategic approach to achieving specific business objectives. Here are some reasons why you should use landing pages:
1. Higher Conversion:
High converting landing page has better conversion than a regular web page. Meaning it is likely to convert visitors into leads or sales.
2. Improved User Experience:
Such pages are designed to minimize distractions and guide website visitors to a specific action.
3. Tracking and Testing:
Landing pages are easily trackable, allowing marketers to measure the success of their campaigns.
Now that we understand the advantages of landing pages let’s begin setting up your website to build one.
Setting Up Your WordPress Website
While building a landing page in WordPress, ensure your website has all the necessary tools and plugins for smooth performance, including Elementor.
Note that for this tutorial, you must have Elementor Website Builder installed and activated on your website.
Follow these steps to install Elementor:
- From your WordPress dashboard, go to Plugins > Add New Plugin.
- Search for ”Elementor” and click on Install Now.
- Once the theme is installed, click on Activate.
Now that you have set up your WordPress website, let’s get started by choosing a template for a landing page.
Install Responsive Starter Templates

Responsive Starter Templates plugin offers a library of ready-to-go website templates designed for optimum speed and performance. You can get 150+ professionally designed website templates built for the Elementor page builder and WordPress block editor.
You can choose from multiple categories of templates that best fit your landing page. Just import a website template, add the content, and launch your website.
You get to use a stunning range of templates for free. But, they also have premium templates labeled as PRO with some extra functions and design capabilities. You can access the pro templates by purchasing Responsive Pro plugin.

You can buy the Responsive Starter Templates plugin for a discounted price on DealFuel.
Follow the steps mentioned below to install Responsive Starter Templates.
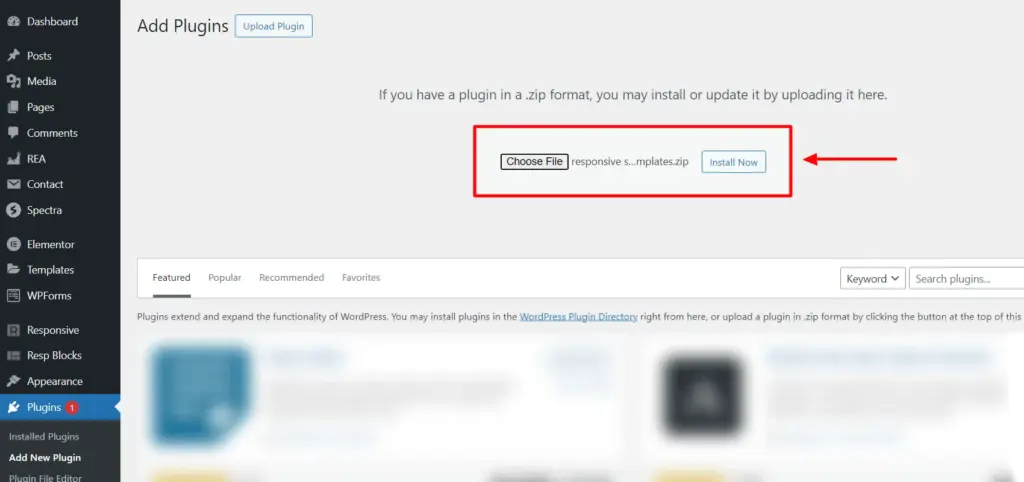
1. Navigate to Plugins > Add New and Click on Upload Plugin.
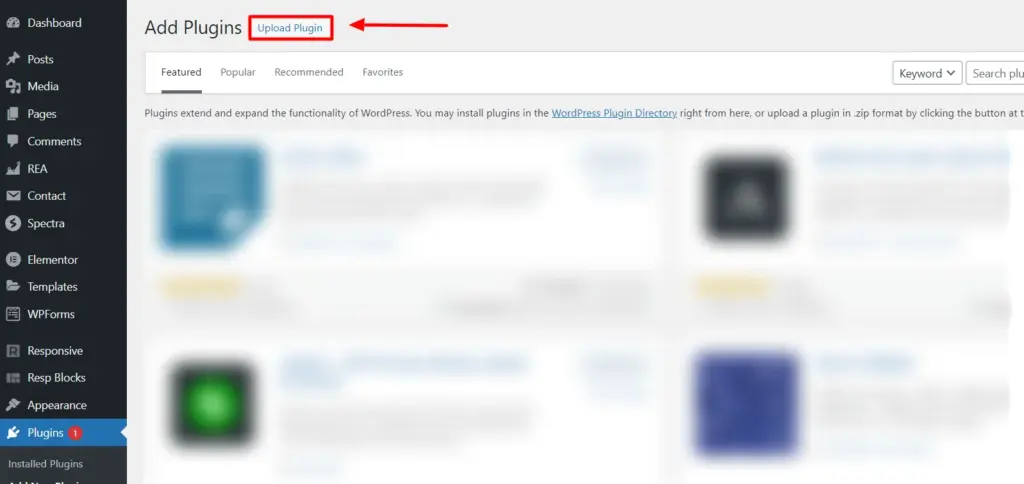
2. Upload the Responsive Pro zip file that you purchased from DealFuel, click the Install Now button.
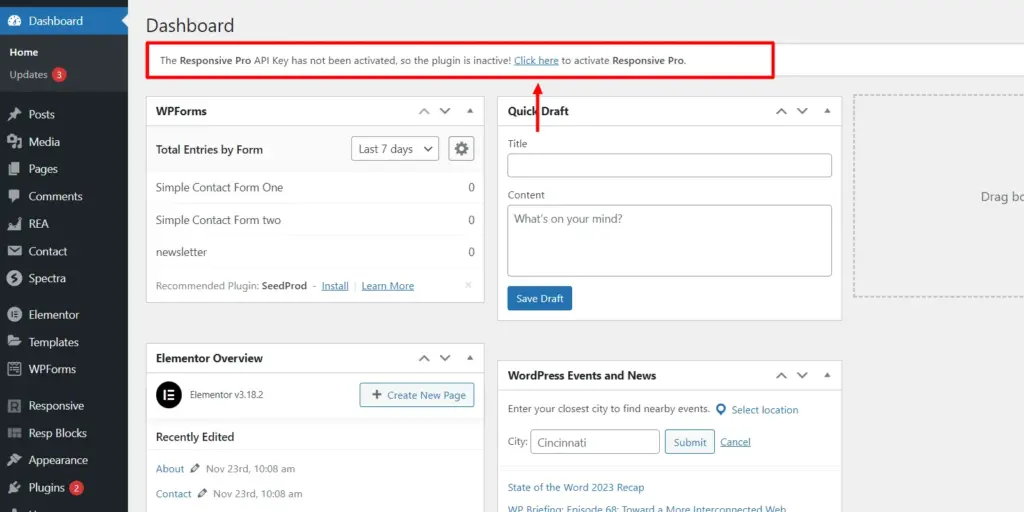
3. From your dashboard, select the Click here banner to activate Responsive Pro.
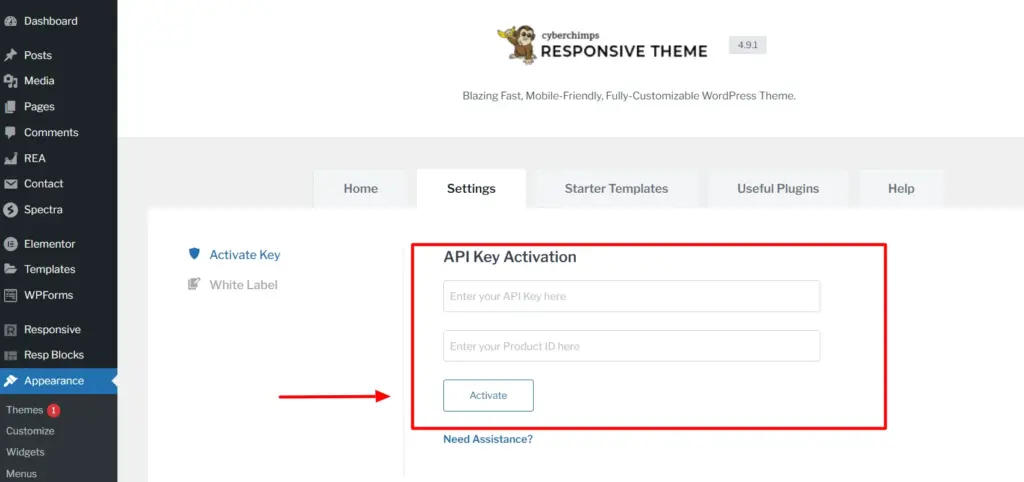
4. Enter the API Key and Product ID, and click Activate.
That’s it! You’ve successfully installed and activated Responsive Starter Templates plugin.
Now, that you’re set up with all the prerequisites, let’s get started on building a landing page!
How to Create a Landing Page In WordPress?
Using the Responsive Starter Templates, you can create a custom landing page in 3 easy steps. To create a landing page on your WordPress website, follow these steps.
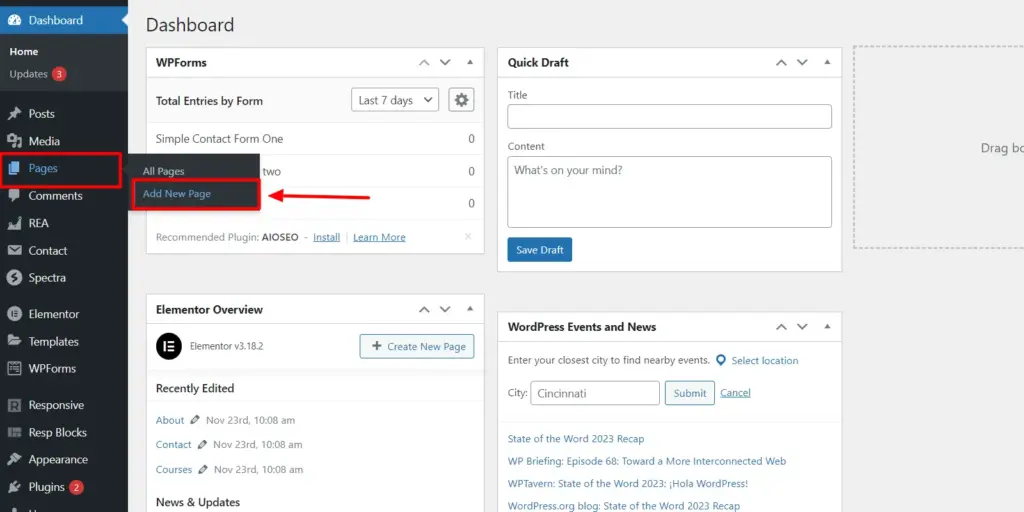
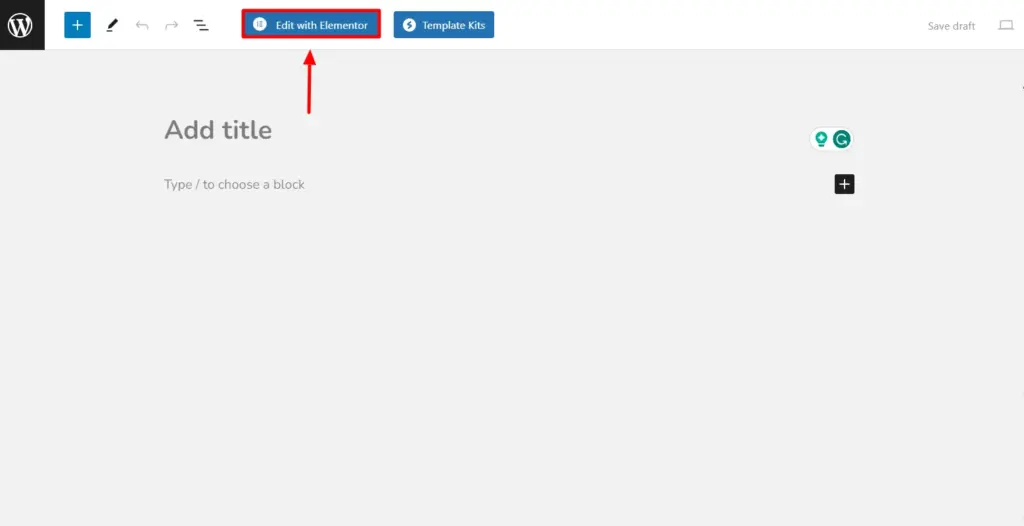
Step 1: Add New Page
From your WordPress dashboard, go to Pages > Add New Page.
Once a new blank page opens up, click on Edit with Elementor.
Step 2: Select a Responsive Template
From the Elementor editor, select the RST icon to preview all templates.
You can preview and search among 150+ starter templates that best match your landing page vision.
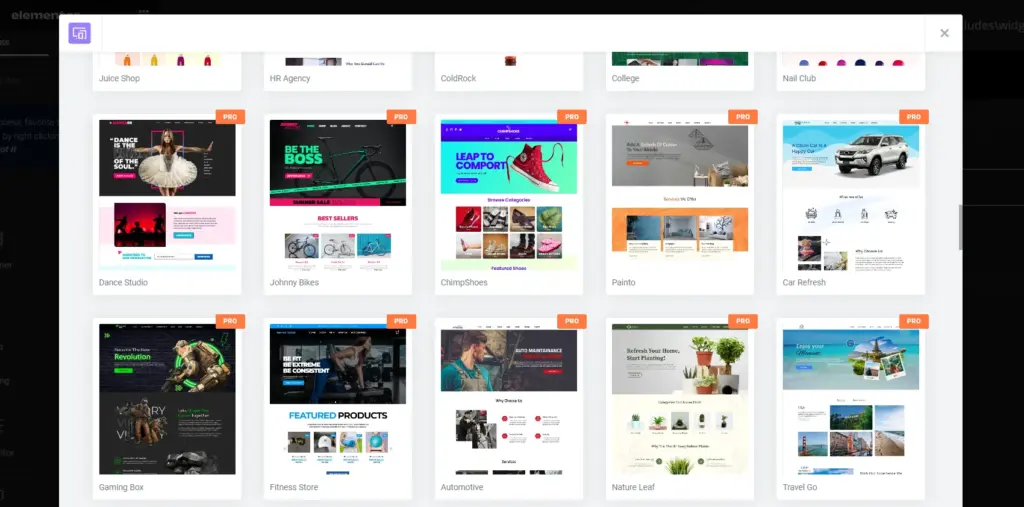
You can search among 150+ starter templates that best match your website’s vision.
Select your preferred template to preview it and click on Import Template.
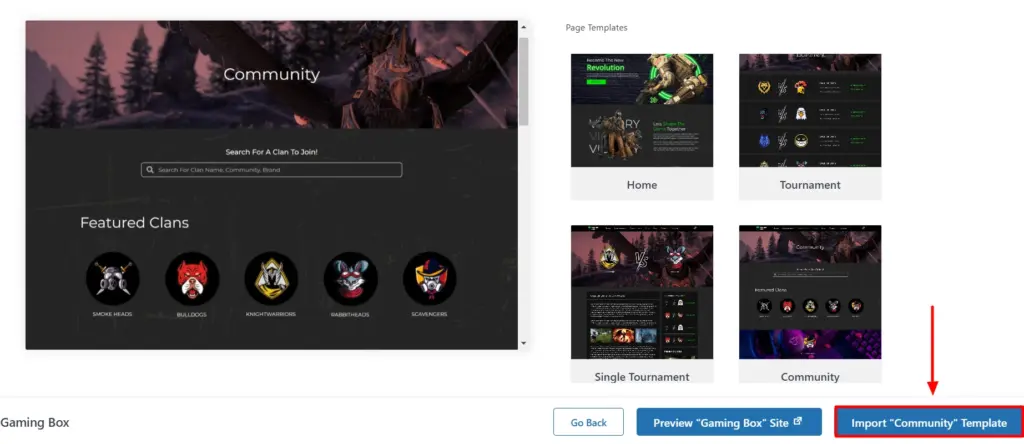
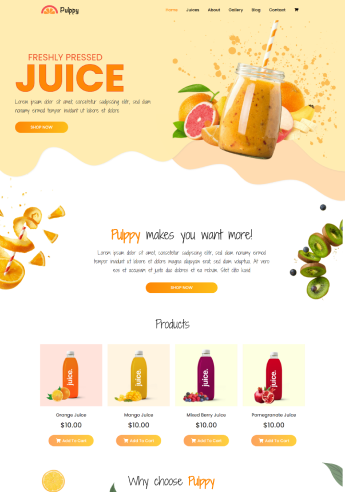
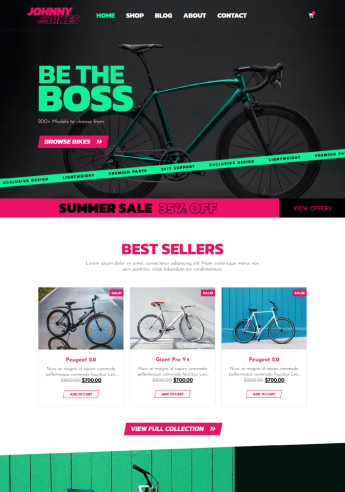
The Gaming Box template is added to your page.

Your landing page is added to your WordPress website. Now, you can launch campaigns, offer discounts, create newsletter subscriptions, and much more using your landing page.
Step 3: Customize Your Landing Page
You can customize your landing page to your website’s preferences using the Elementor page builder. With this, you can modify the website elements like text, images, colors, and layouts.
You can use multiple drag-and-drop widgets to create a personalized and unique look for your landing page.
Click on Edit with Elementor to begin customizing your page.

Begin to customize your landing page with the Elementor page builder. You get full control to add or change any element on the site. Use the Responsive Elementor Addon (REA) widgets to add more functionality to your landing pages.
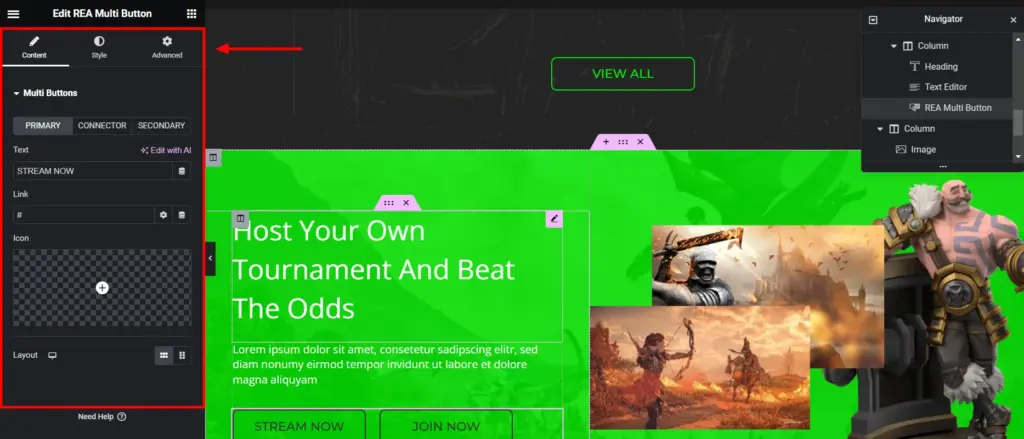
Click the Update button to save your changes.
Now you can create marketing campaigns, add call-to-action buttons, and ultimately drive more engagement and traffic with your landing page.
Wrapping It Up
We hope this guide has helped you understand how to create a landing page in WordPress.
Start building superior landing pages to grab the attention of your visitors and use it to increase your engagement.
Explore and experiment with more features of Responsive Pro to further enhance your website’s capabilities.
Excited to grow your website? Grab Responsive Pro now!